Retaining walls can be built of numerous materials types, natural stone such as fieldstone and quarried stone, man-made pre-cast or cast in place concrete wall systems, brick, timber, composite materials (plastic and wood particles combined), and even metal. My preference is to build retaining walls in natural stone, but generally, the cost of natural stone is significantly more than that of man-made materials due to mining/quarrying costs and installation labor costs. Michigan fieldstone boulders are an exception to this rule since they require less foundation preparation, and are more common in West Michigan than is quarried stone, and thus costs less in labor and materials.
 |
| This retaining wall was built by Omega in 2013 using seven tons of Michigan fieldstone boulders hand picked from Grand Rapids Gravel, and planted using material from Bohemia Nursery in West Olive, MI. |
 |
| The wall and steps seen here were built by Omega Brick & Landscaping using Burnt Red Blend Wallstone/Wedgestone and Stratford Pavers manufactured by Hanson. |
 |
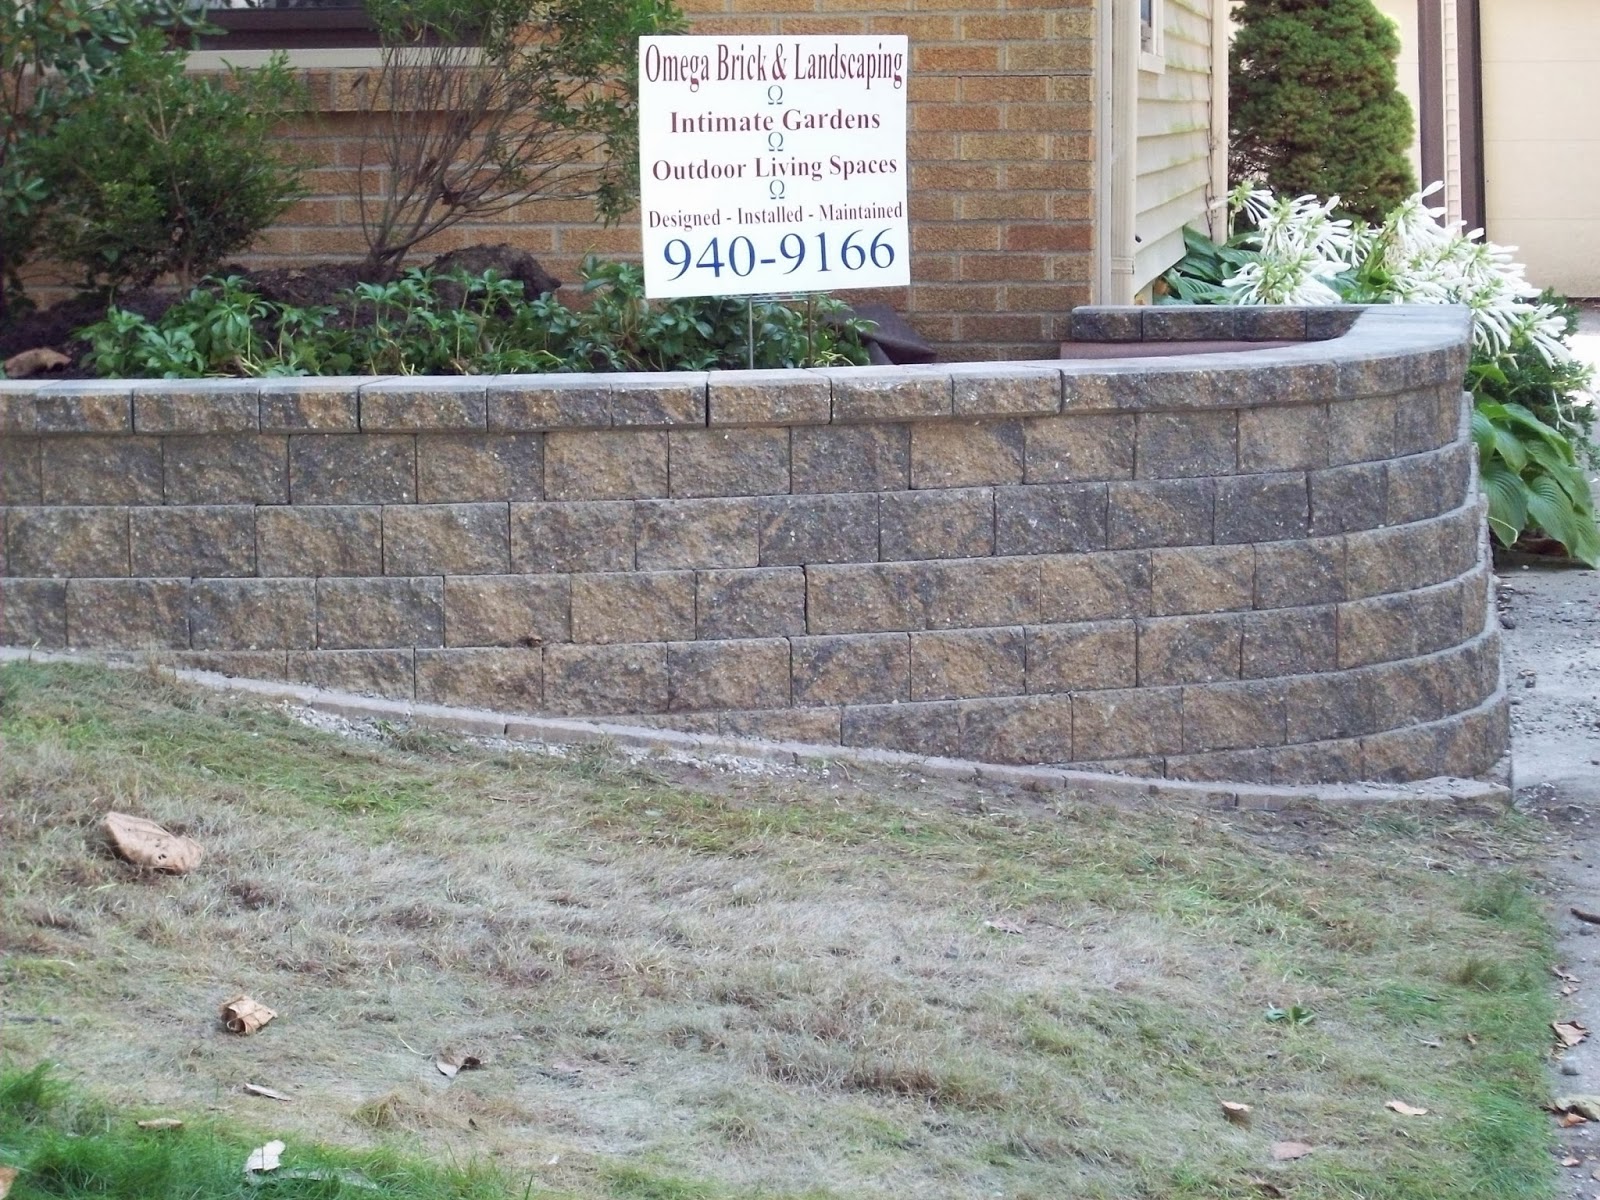
| Built by Omega Brick & Landscaping using Antique Wallstone and Wedgestone Wall in Grand Rapids Township near Frederick Meijer Gardens |
 |
I built this wall several years ago on Philadelphia SE in Grand Rapids, MI using St. Clair PISA 2 retaining wall by Unilock.
|
 |
| Split Chilton Wallstone, a natural limestone mined in Wisconsin, was used by Omega to build this wall in Ada, MI |
Regardless of the materials being used, all retaining walls share fundamental building requirements that ensure long-lasting structural integrity.
1. Properly placed and compacted
foundation material to keep your retaining wall from sinking or tipping.
2.
Geo textile fabric to separate base and backfill material from native soil which, left to its own device, will seep into the base and backfill material and degrade them as well as seep through the front of the wall.
3. Properly placed and compacted
backfill material to keep water from undermining the your wall or, in the case of wood, rotting it.
4. Carefully placed and leveled retaining wall foundation.
5. Properly sloped soil above the retaining wall to direct water away from the wall or over the wall.
When preparing your site for a retaining wall, whether replacing an existing wall or building a new one, consider all surrounding structures and land formations. These structures and formations can have a significant effect on the survival of your retaining wall by directing water toward or away from your wall.
If water will be directed toward your wall as things stand, you will need to redirect the water by installing drains and drain tiles or by changing the slope of the land formations. Which you choose has much to do with the amount of labor and equipment cost. Drains and drain tiles are inexpensive in and of themselves. However, installing them can require significant time and equipment costs. The quickest way to install a drain tile is with a trencher such as the Ditch Witch. In Grand Rapids, MI, I rent this machine from Advanced Rentals.
http://www.advancedrentalcenter.com/products_43_Trencher-30-x-4.html?cat=2&sub=11 .
Dig your trench a minimum of eight inches wider than your retaining wall material. Dig deep enough to lay down a minimum of six inches of crushed concrete or gravel (your base material) plus the height of one block, timber or stone. Your will bury the first layer of your wall below grade. In this case, because the soil here is clay and tends to hold water, in order to ensure minimal shifting and upheaval in I dug twelve inches below grade.
By digging 12 inches below grade, I was able to install eight inches of crushed concrete and still have room to bury my first course of retaining wall block. Better safe than sorry.
 |
Retaining walls built in Caledonia, MI for use as raised planting beds.
These are part of the system seen in the pictures above demonstrating proper base preparation. |

Once your trench has been dug, lay out your geo textile. Run the fabric from the front of the trench, down into the trench and up the back side of the trench and hill you are retaining. Use large staples to hold the fabric in place both front and back of the trench. Once the retaining wall is completed, you will need to pull the fabric over the front and back of the trench to cover the base and backfill material, so be sure to leave at least one foot of fabric beyond the front of the trench and two feet above the hill. Also, allow enough slack in the fabric for the crushed concrete and stone to settle without tearing it.
 |
| Crushed stone from Grand Rapids Gravel. Not the angular nature of the stone. This allows the stone to be compacted and keeps it from shifting as happens with rounded pea stone/gravel or washed stone. |
To make it easier to level your first layer of stone or block, consider laying a layer of chips n dust or stone dust on top of the crushed concrete approximately 1/2"-1" deep.
In Grand Rapids, MI, I purchase all of my crushed concrete and crushed stone from Grand Rapids Gravel.
Once the crushed concrete is fairly level, it is time to begin laying the blocks or stone. You must place each block/stone individually, leveling each from front to back and side to side. Level your first unit using a six or twelve inch level, tapping it with a heavy rubber mallet to lower set it deeper into the crushed concrete where it is too high. If you need to add material under the block to get it right, use chips n dust, or stone dust. It easier to level blocks and stone on chips n dust or stone dust than it is on crushed concrete. Lay the second unit next to the first, using the first to level the second.

Crushed stone is the preferred material for use behind retaining walls. Check them out at http://www.grgravel.com/ Try to install a minimum of twelve inches of crushed stone behind your wall. It is best to place the stone as you go to ensure proper compaction on filling. I install the stone after each level of retaining wall. I usually use a hand held tamper rather than a plate compactor. A plate compactor tends to push the the retaining wall our of alignment, requiring you to go back and push blocks back into place. If you are using fairly heavy retaining wall units (over 80lbs each), you will be safe using the compactor and save yourself a lot of manual labor. Be sure while you are putting in the backfill material to keep the geo textile fabric from pulling away from the native soil. You don't want to create gaps in the fabric where the soil can sift through and undermine the backfill and wall.
You may be required to cut the stone/block as you build in order to get a tight fit between blocks. The best option is to rent a concrete saw or a large brick/block saw from a local rental company such as Home Depot or Advanced Rental here in Grand Rapids, MI. These saws are equipped with diamond blades that make quick work of these cuts.
Do not use blocks smaller than half the length of the standard units if at all possible. They can become unstable and can be pushed out of the wall. If you must use smaller pieces, use masons adhesive/glue to hold them in place by gluing them to the blocks above and below them. Otherwise, the only time you should use adhesive is when you get to the capstones. The capstones should be glued down using two beads of adhesive running lengthwise along the top of the previously laid layer of block: one bead two inches from the back of the block, one along two inches from the front of the block. Try not to place the glue too close to the front. If you do, the glue will ooze out and be exposed on the front of the wall. The glue is difficult to remove.
When setting the capstone, use a rubber mallet to tap each block down to achieve proper adhesion.
For assistance with design or installation of your retaining wall,
Call Brent Langley today @ (616) 328-3258.


 I have wrapped up the patio area of the Boston Road outdoor living space project in East Grand Rapids, MI. For the paver patio, I used Belgard's new smooth/ crisp Cotswold Mist Moduline series large format pavers with Black Diamond accents.
 Wellington Wall was used for window well and fire pit with the 48"x14" natural gas American Fire Glass stainless steel pan. The fire pit cap is Techo-Bloc's Piedmonte in Onyx Black to tie patio and fire pit together.


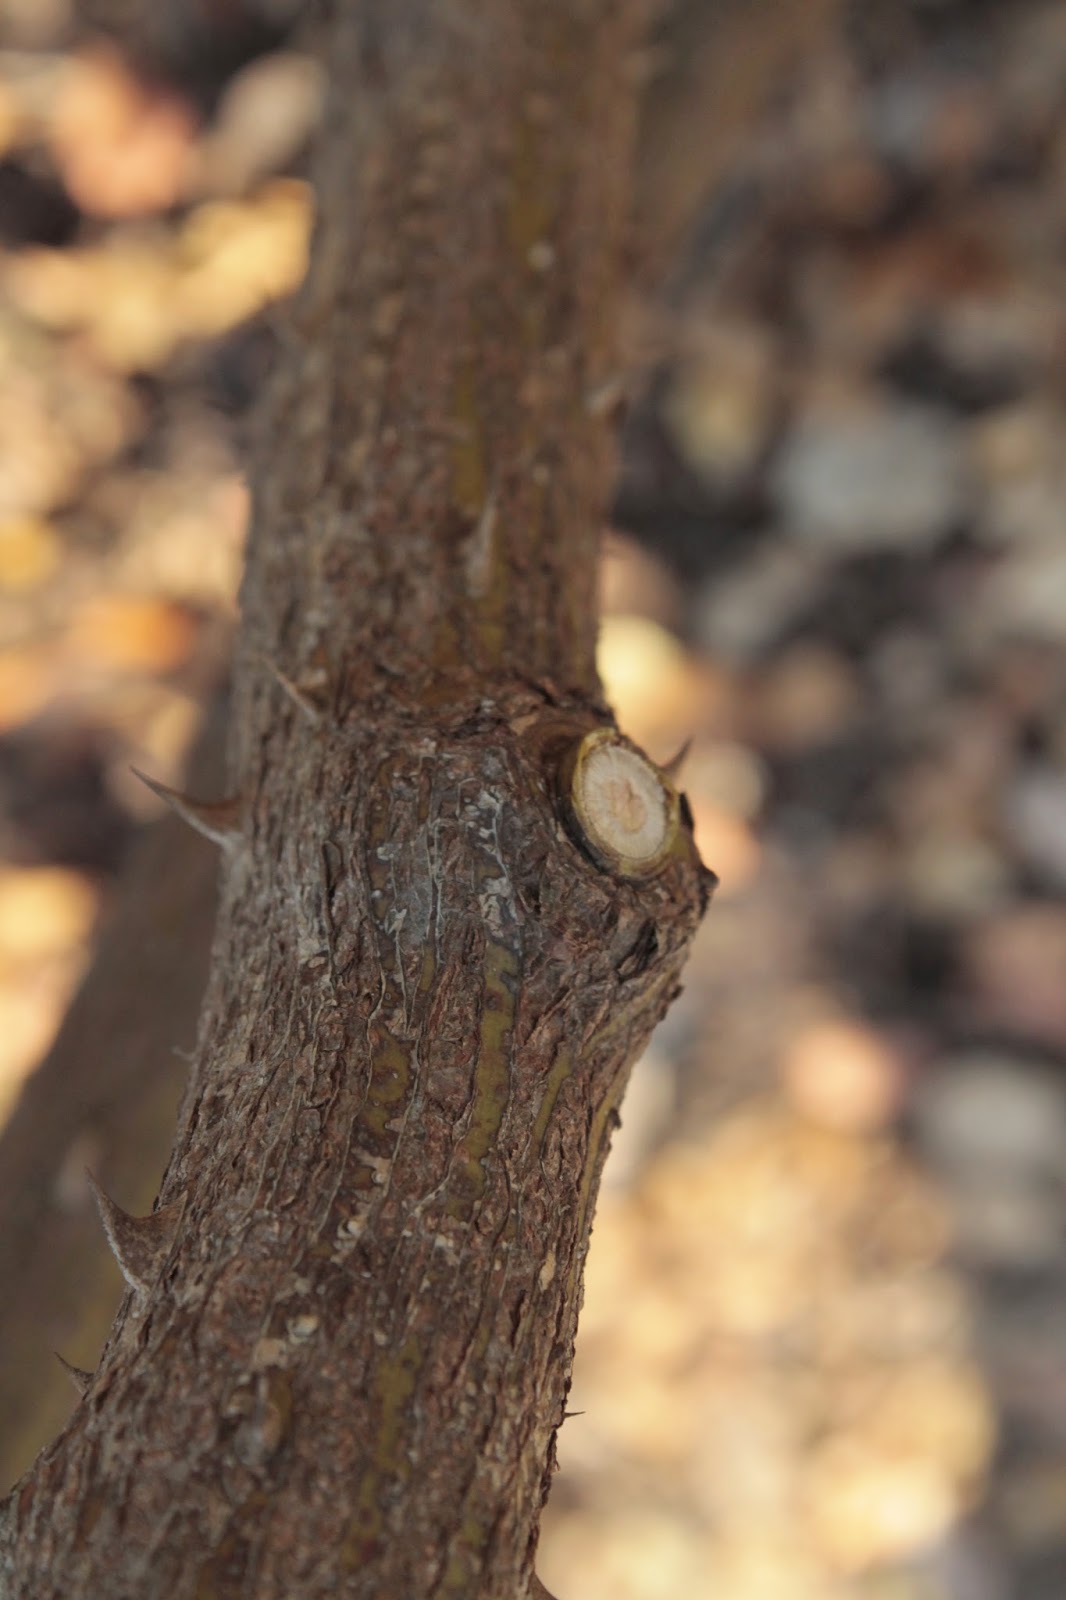
 I have three large shrub roses in my front yard - Carefree Delight Rose. I have done relatively minor pruning for the last five years to keep the shrubs around six feet high during the summer and five during the winter. They have made a wonderful hedge along the front ramp and brought many compliments because they bloom almost continuously from mid Spring through late fall. Extra pruning a couple times a year increases the number of blooms, but is not strictly necessary.


