Showing posts with label landscape maintenance. Show all posts

Thursday, March 20, 2014

Carefree Delight Roses: Pruning Rose Bushes in Spring

I have three large shrub roses in my front yard - Carefree Delight Rose.  I have done relatively minor pruning for the last five years to keep the shrubs around six feet high during the summer and five during the winter.  They have made a wonderful hedge along the front ramp and brought many compliments because they bloom almost continuously from mid Spring through late fall.  Extra pruning a couple times a year increases the number of blooms, but is not strictly necessary.


Now, the maples in my front yard are maturing and casting shadows.  In addition, the Carefree Delight Rose grows approximately six feet tall and five feet wide.  The growth of both the trees and rose bushes has led to thinning foliage and branches along the base of the shrubs. 

So, this Spring I cut them back hard to encourage new growth, especially in  each base and interior.


Most rose bushes benefit from hard pruning either in the Fall or in the Spring. I generally prune shrubs for my clients in Fall. This keeps the canes from cutting each other during the storms of winter.  Wind and snow push the canes together so the thorns tend to slice as they move along other stems. 

Here you can see the winter damage to a large section of this rose bush. 
The branches are dull grey and tan and lack any new leaf buds seen on the healthy branches.  The damage that caused this die back is located further down on a larger branch but is most visible all of the branches seen here.

This damage increases dead branches making it more difficult to prune in Spring.  On the other hand, leaving the pruning until Spring, allows you to enjoy the bright orange rose hips throughout winter.  This picture exemplifies the extreme damage that can occur as a result of thorns from one branch cutting through the bark of another.  This branch as become twisted and weak and could, eventually lead to significant damage to the rest of the shrub if not pruned.


You can make use of the time between now and when the snow finishes melting by trimming your roses.  First, you will cut back the complete rose bush by two thirds.  Here I have trimmed back three Rose bushes to the main canes in order to restore structure to shrubs that have become unruly.


These buds are located where a leaf joins the stem. Since most rose bushes (in cold climates) lose all of their leaves during winter you can identify the lateral buds by locating the nubs along the cane where the branch seems to bend or angle in another direction.  

Lateral bud on a young cane.
Lateral bud on an older cane.


Cut the branches at a 45 degree angle approximately 1/4" above and away from the lateral bud.
Next, remove all dead and crossing branches. This will reduce future damage. All together, you will want to thin the shrubs by a third to half.    So, once you have removed all the dead branches, you may still need to remove some healthy growth.  This will enable air, light and water to penetrate the interior and lead to a healthier plant. Try to remove branches evenly.
Some branches will have winter kill on their tips. Simply cut these back to a healthy lateral bud.
Crossing branches, such as those seen in this picture, can damage each other and create openings for disease and insect invasion.


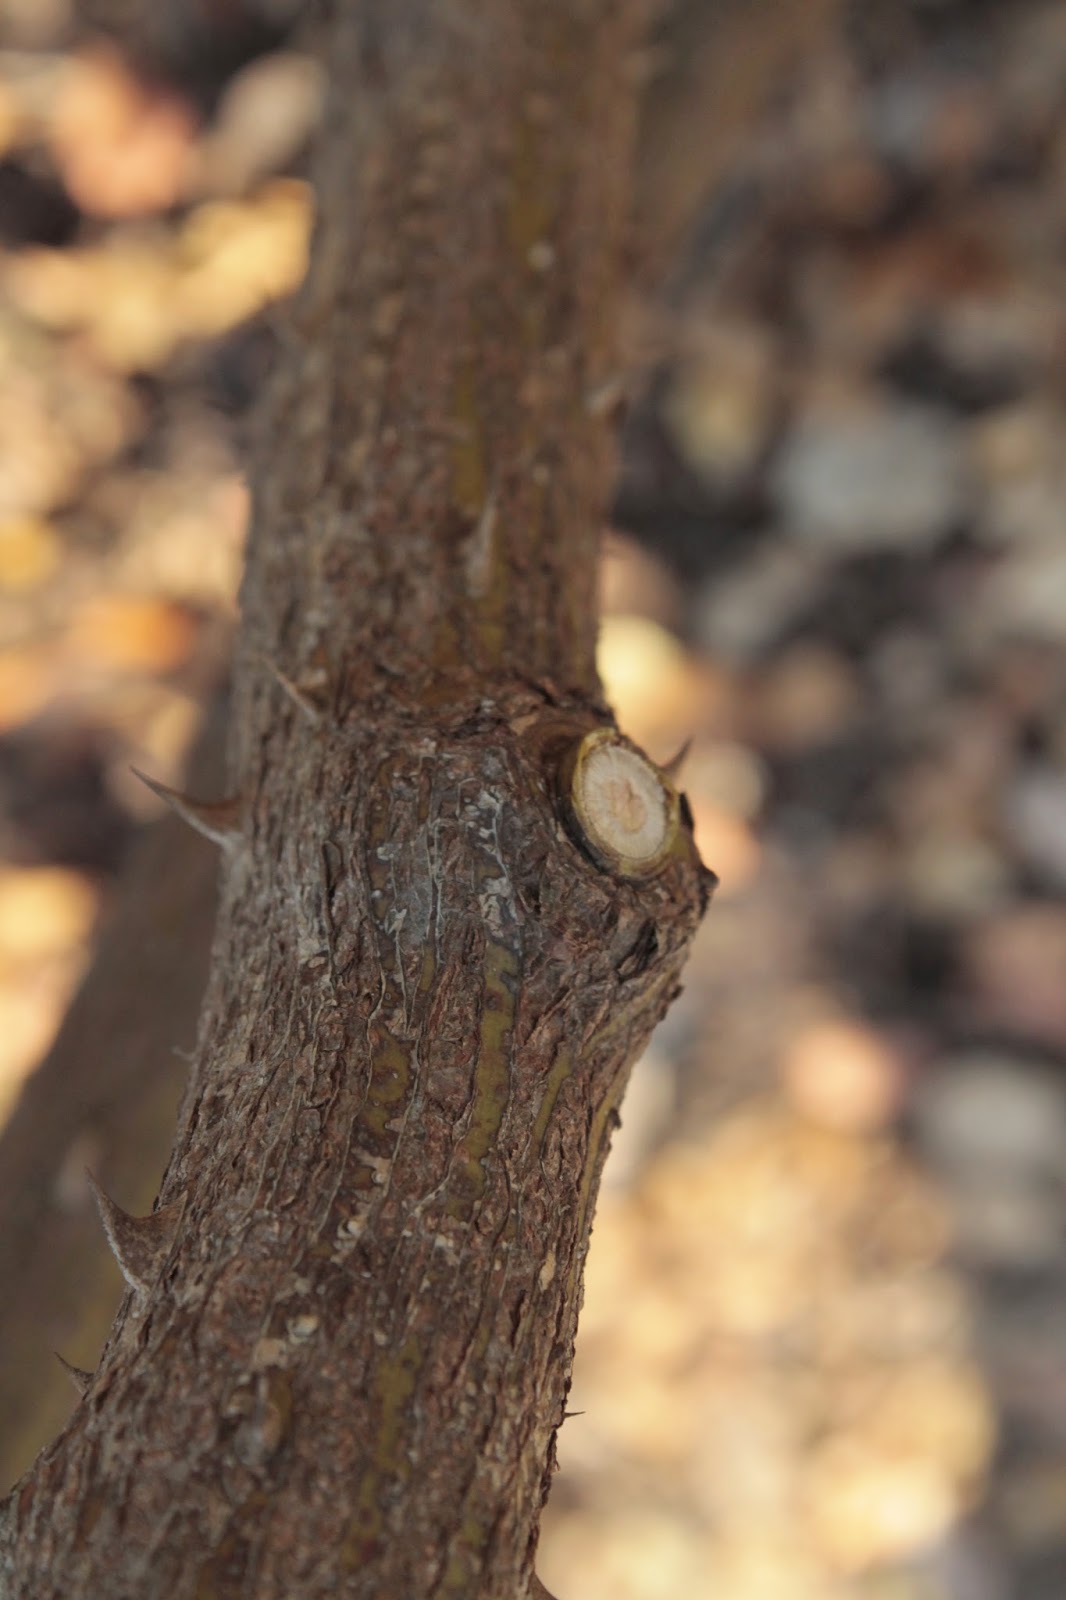
Cut branches that are completely dead all the way back to a living cane as seen here.  Avoid cutting into the collar which surrounds the base of the branch.  Damage to the collar can keep the wound from healing properly and lead to further damage.


Notice the hole that was caused by the thorns of another rose cane.  This hole is creates access to insects that can damage the cane, as well as interfering with flow of nutrients to the Rose bush.


Now that the rose bushes are pruned back to a simple framework, you can reach the base where old canes have not been cut back all the way to the base.  Some of these old canes, such as those seen here, may be dead and need to be removed to a living branch.

Saturday, October 15, 2011

Polymeric Sand: Controlling Weeds Between Pavers

Over the last fifteen years or so, I have installed numerous brick and stone patios, walkways and driveways. Here in Michigan, most paving is dry-laid, that is, there is no concrete or mortar involved in the installation process. Because concrete and mortar tend to break up over time due to the freeze thaw cycles in this cold climate, it makes sense to use a flexible base and joint filler. Until a few years ago, I used either baby sand, which tends to washed out too easily, or rough-graded sand to fill between concrete or clay pavers. I used chips n dust or stone dust or slag sand to fill between natural flagstone. Rough sand and the fillers I used between flagstones worked fairly well for keeping the joints filled and the pavers from shifting. (Of course aluminum or plastic edging is necessary to keep the edges of each project from shifting outward, but that is another subject). The real downside of these joint-filling materials is that they don't keep weeds down. And yes, there is some washout over time.
Then, a few years ago, I started using a fairly new product: polymeric sand. This type of sand can be purchased pre-mixed for small projects, or added to dry sand and thoroughly mixed for larger projects. Polymeric sand creates flexible, porous joints. The polymer binders in the mixture keep the sand particle continuously adhered one another. Though this product is significantly more expensive than straight sand or stone products like those purchased at sand/gravel pits, there are two major benefits. First, polymeric sand remains where it is placed. There is no washout of this product. Second, polymeric sand creates a barrier to burrowing insects that tend to loosen and expel sand from between joints, and weeds that would otherwise germinate and grow between joints. It is most efficient to use polymeric sand between joints when initially installing a brick or stone paving project. However, it is also possible to replace other joint-filling products with polymeric sand if your product is already in place. "Simply" sweep, blow, scrap, or power wash the sand or stone from between the joints of your pavers. Remove the old sand/ stone. If you have used water to clean out the joints, make sure the pavers have dried completely before putting down polymeric sand. Most of these products tend to stain surrounding pavers if they come in contact water. For this reason, it is necessary to sweep or blow off excess sand before moving on to the next step. Once the final paver compaction is completed, finely mist the entire paved area. This will moisten the top layer of the polymeric sand, thus adhering those grains to each other. Subsequent rain or irrigation will filter down into the joints further joining the particles to each other, ensuring proper adhesion. The joints will look like they have been mortared if they are fairly wide. To the touch, they will even feel mortared. However, scraping or otherwise manually agitating the polymeric sand would loosen it without damage. Once wetted again, the sand will settle back into place and adhere as before. No more weeds or washout.

Warning!  Not all polymeric sands are made equal.  Though I have not used all types, I have kept up on professional forum and have found complaints of hazing from Alliance polymeric sand, excessive splashing from Envirobond polymeric sand which is a very fine powder, and blowouts from Techniseal/Unilock polymeric sand.  I will be doing some investigating and comparisons and talking to other professionals and further fill you in on these issues.  Ultimately, you need to closely follow manufacturers recommendations.  Best practices seem to be to ensure proper compaction of pavers when they are dry; sweep sand into joints; sweep off and blow all excess sand from paver surface; mist the pavers lightly to settle the sand; wait an hour; mist again; wait another hour and mist a final time.

Need some help with project or other paving/hardscape project design, installation or maintenance?
Give Brent a Call @ 616 328-3258.